
First download the picture from the 'Dropbox' then open it with photoshop. Select "Pen Tool" (P) to trace the part that I want.

After done tracing click "Path" and click "Load path selection" which is round doted line bottom of the "Path" menu.

Then click "Channel" which is beside "layer" or "Path", remove the Red & Green and click the "layer mask" then the picture will turn as the picture shown above. From here I can remove or add the certain part I want using brush tool (Black to remove, white to add).

Then find for the picture desire for the background and put under the girl layer. Synchronize the girl picture and background using "Match Color".

From the "Match Color" menu I adjust the Luminance, color intensity and fade to match the background.

Lastly, I used the burn tool and dodge tool to darken or lighten the picture I traced.

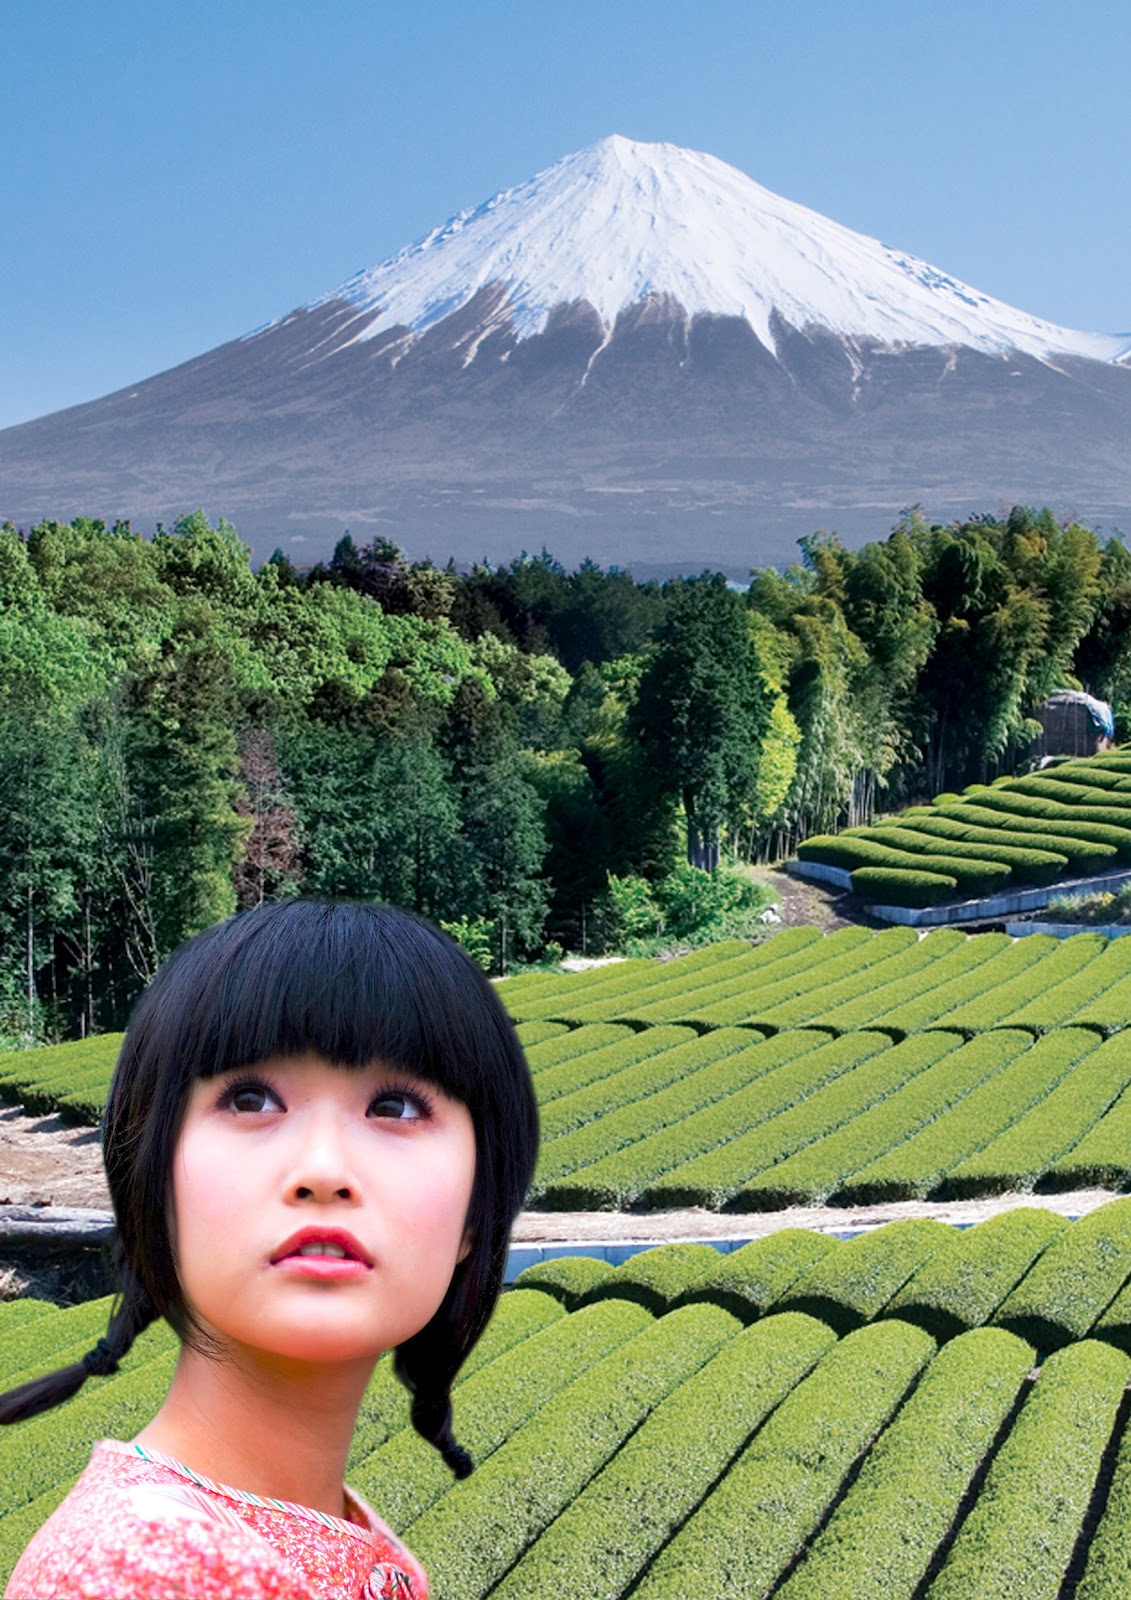
Voila! Done :D


Hi, very nice post, i certainly love this website, keep on it see it here
ReplyDelete