Our first exercise for digital imaging class which require us to take a photo of our self using green screen as the background and select only the needed part using masking. This exercise also teaches us avoid erasing or delete away the part which we do not want it appear in the picture.

This is the original picture that I snap with my camera using the green screen.

Step 1
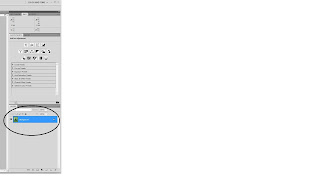
Select the picture and open with Photoshop,then unlock the layer to edit the picture.
Step 2
Press "Select" on the above selection and click "Color Range".
Step 3
After click the "Color Range" is will pop out a menu. In the menu select the color to 'Green' because that is the color which I want to select and below down there is another selection preview change it to 'Quick Mask'. Make sure it's invert. After everything has done setup click the background where I want to be the selection and adjust till I feel it's fine, then press OK.
Step 4
After done with the selection color, click the button "add layer mask" at the bottom right where is under the layer selection.
Step 5
Right after clicked the button the color green will be remove from the picture including the part I want. So select the brush tool and use only 2 color (black & white). By adding black it will remove the part that I don't want and white is the opposite. It's not really erasing anything from the picture, it's just covered from another layer.
Step 6
When everything is done it will look like this. Search for another background picture desire and just add in then just do some editing using burn and dodge tool to make it more real.


